Converting makesense.ai JSON labels to label (mask) imagery for an image segmentation project
Annotate images on makesense.ai
makesense.ai is pretty great and the tool I generally recommend for labeling images because it:
- works well and has a well designed interface
- is free and open source
- requires no account or uploading of data.
Press 'Get started'

Load images (in my example, I am using two pictures of coins and other objects on sand). Select 'object detection' which will give you the point, line, box, and polygon toolsets

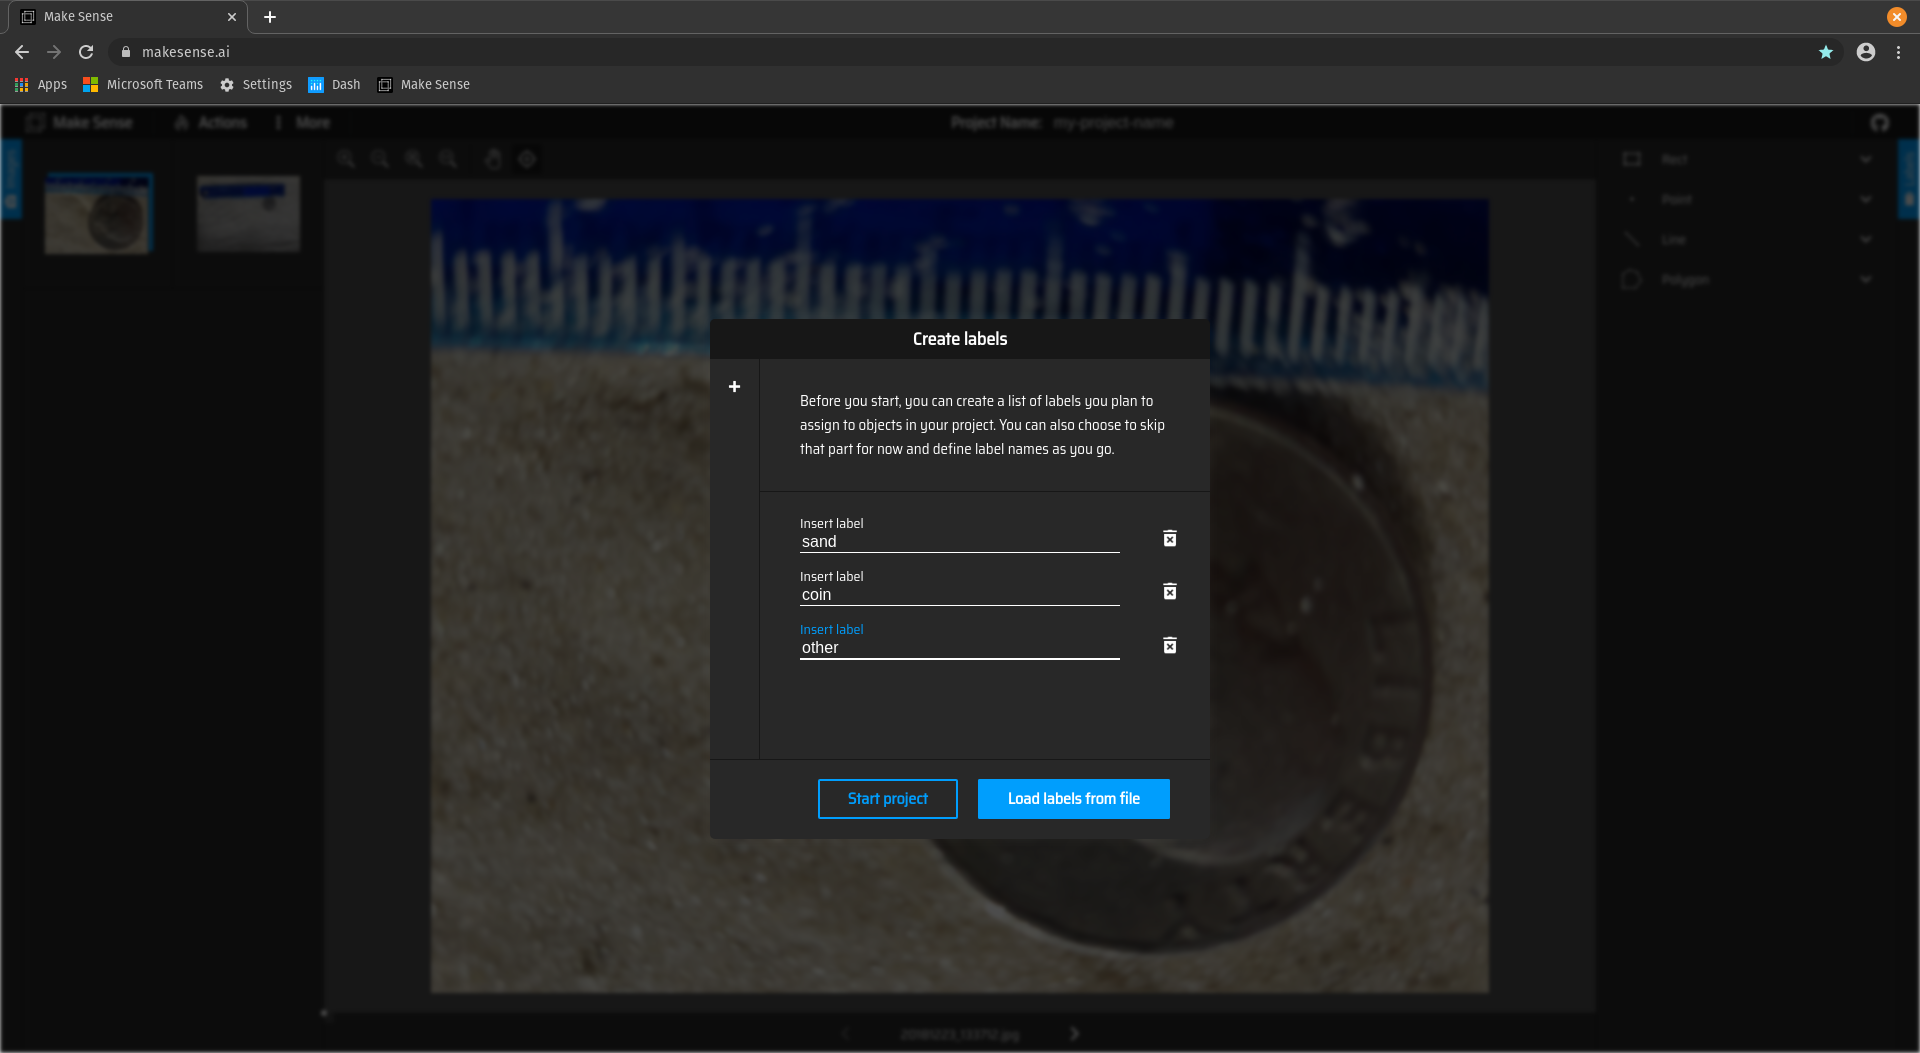
Create a list of labels (mine are 'coin', 'sand' and 'other')
Use the polygon tool to start delineating the scene, and select the label from the drop down list for each annotation
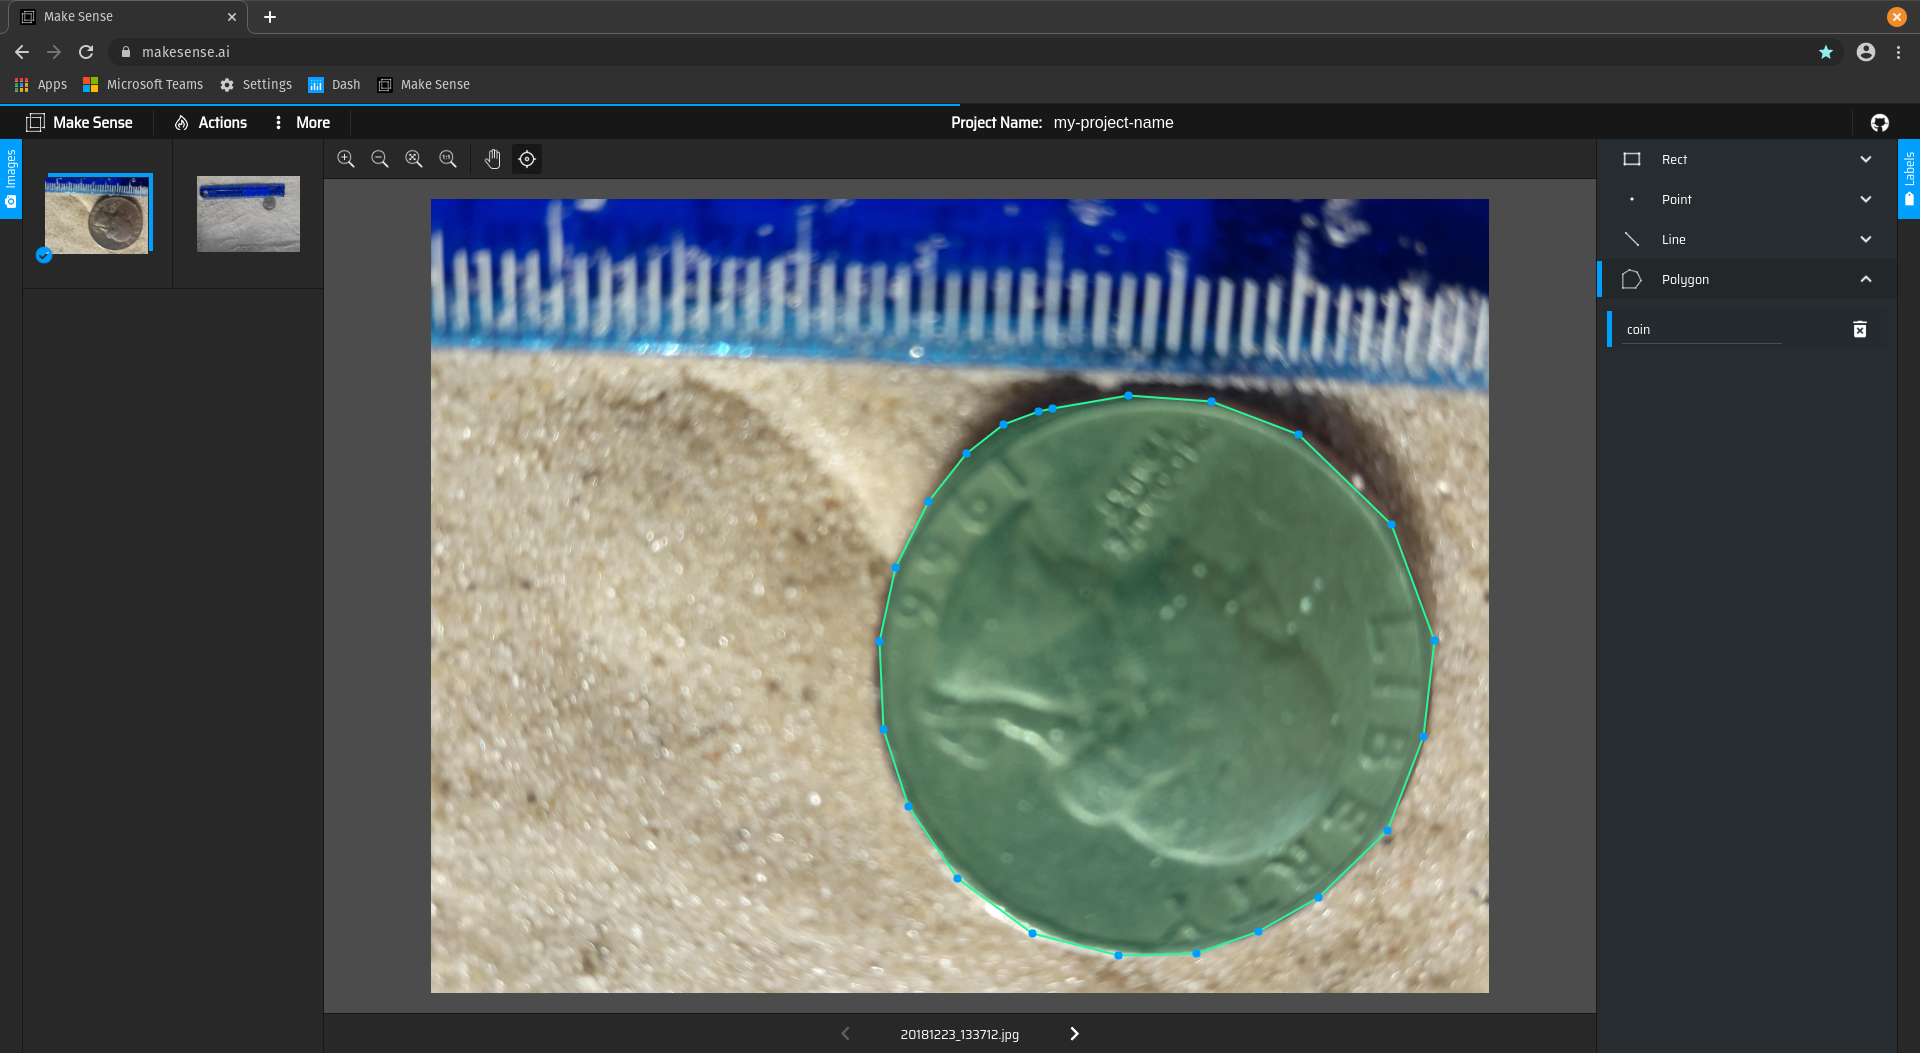

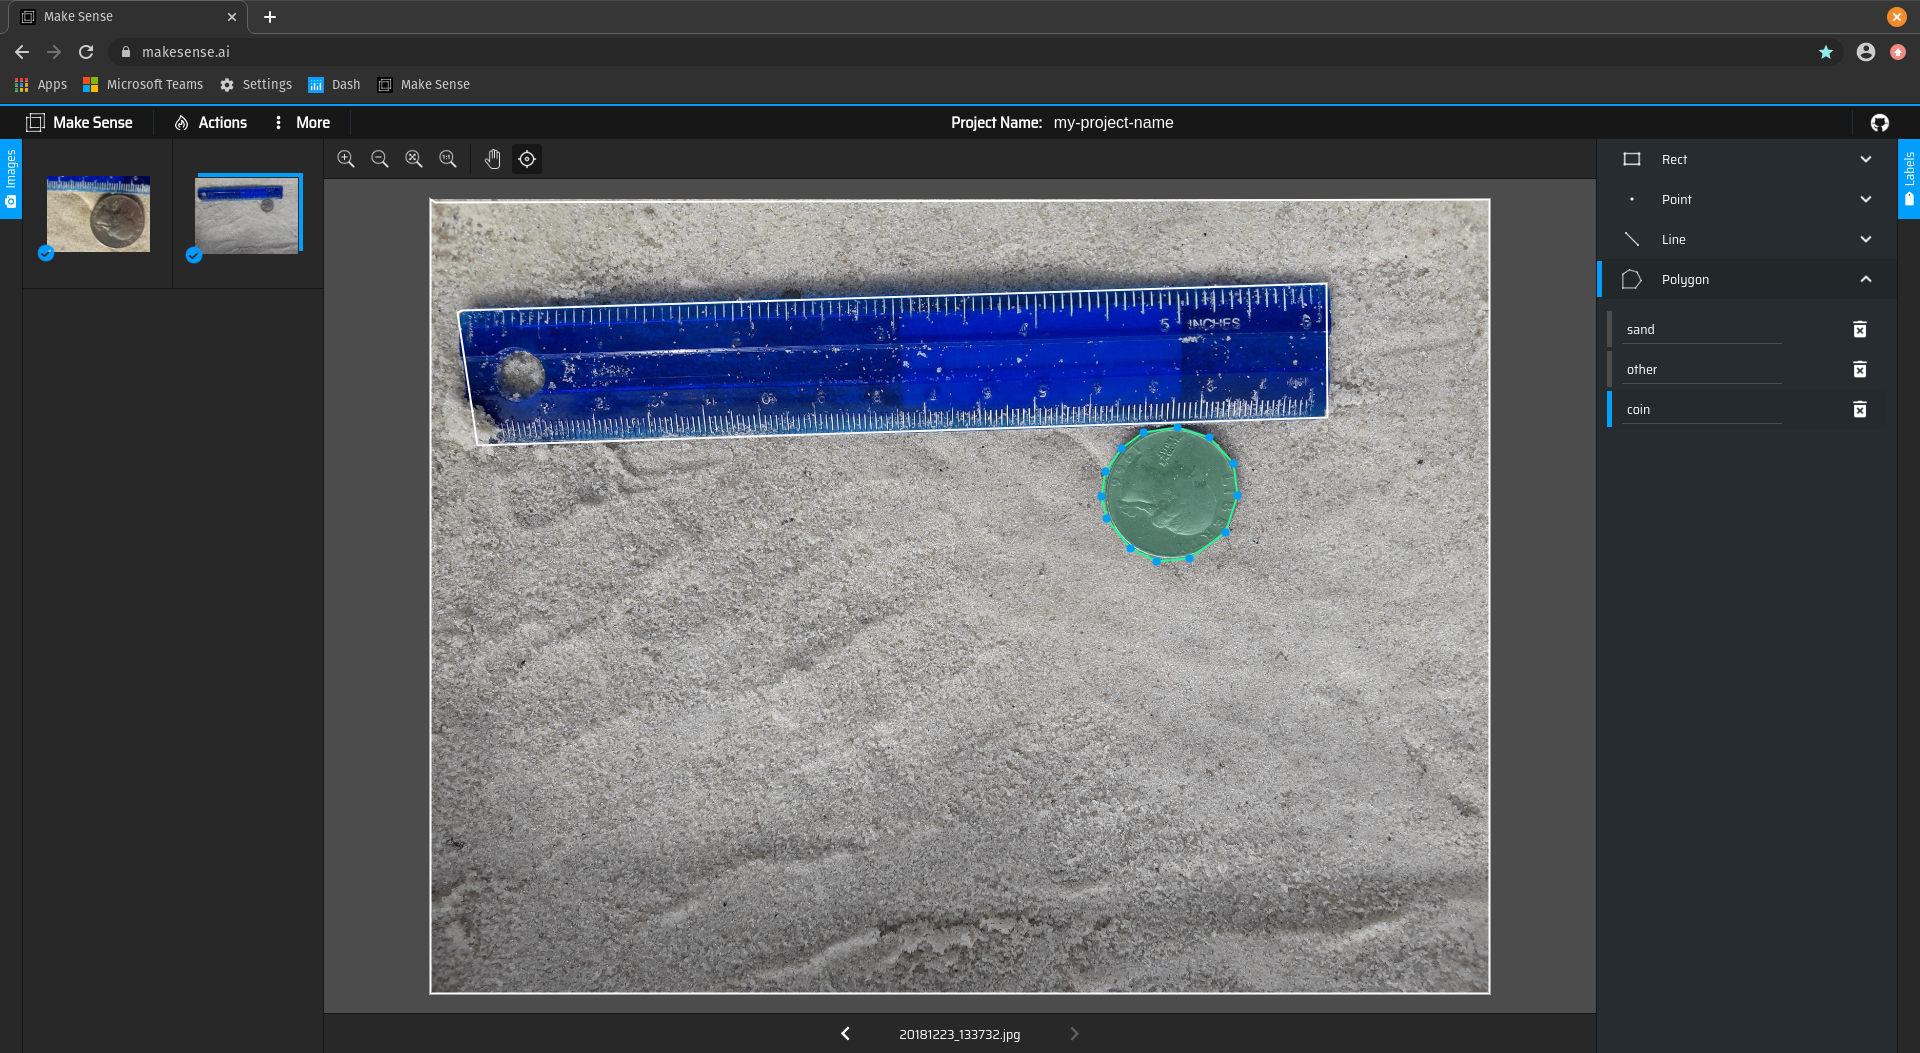
Image two (these sorts of scenes are tricky to label because sand is really a background class)

Actions > Export annotations
Export in VGG JSON format in the polygon category

This is what your JSON format file looks like
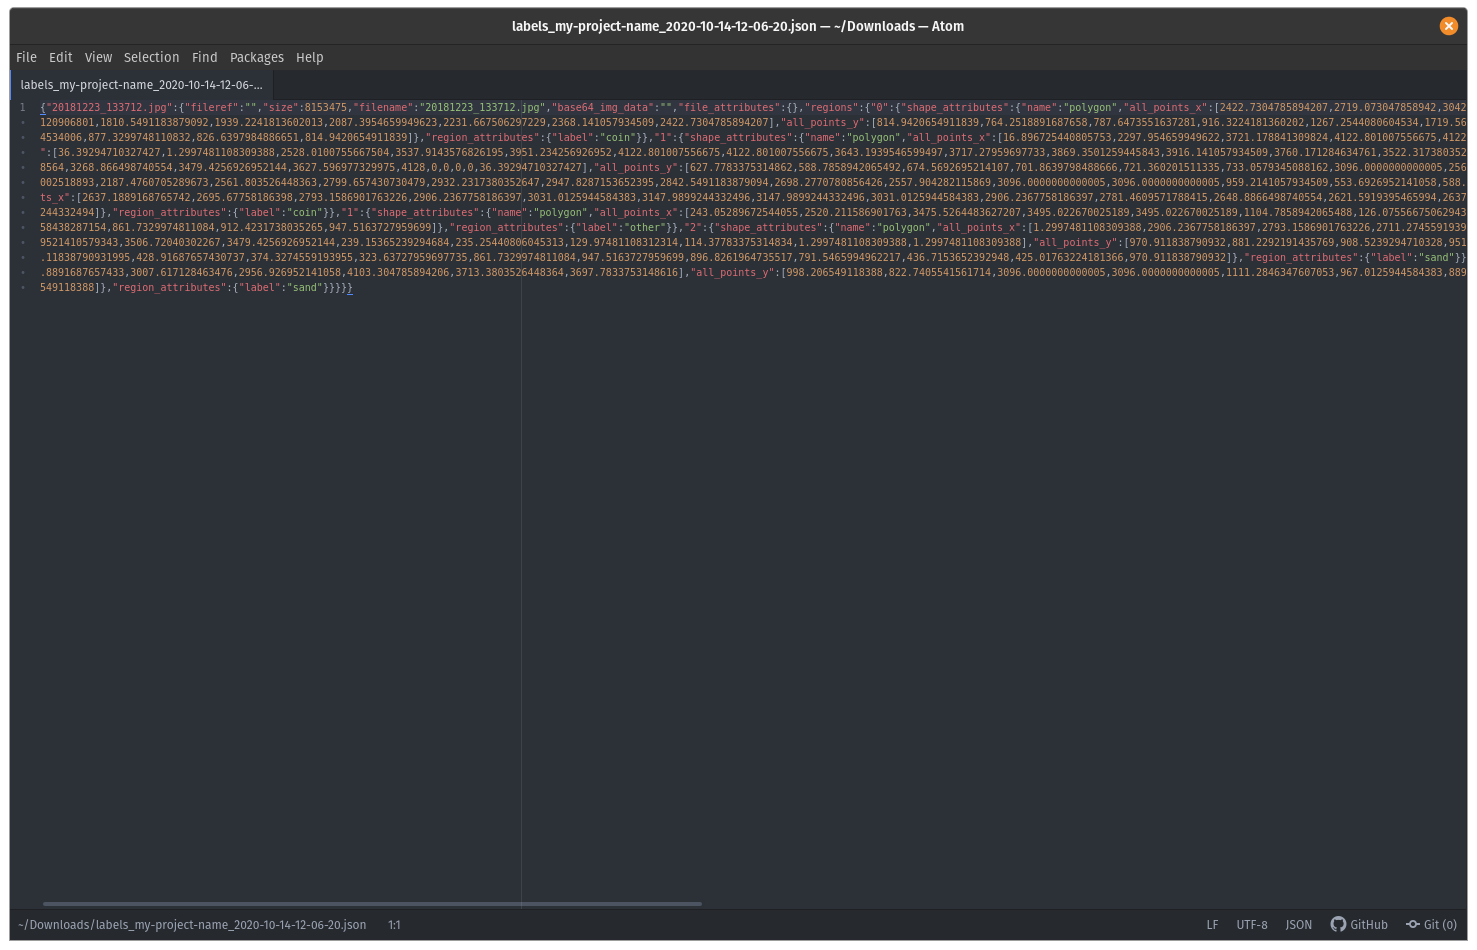
Let's read it into python and convert it into a label mask
Create label images
Load the libraries we need
import json, os, glob
from PIL import Image, ImageDraw
import numpy as np
Define a class dictionary that allows for mapping of class string names to integers. Avoid zero - that is usually reserved for null/background for a binary segmentation. 'Other' is different in this context (rulers, and other things in the scene)
class_dict = {'coin':1, 'sand':2, 'other':3}
Load the contents of the VGG JSON file downloaded from makesense.ai into the dictionary, all_labels
json_file = 'labels_my-project-name_2020-10-15-03-40-44.json'
all_labels = json.load(open(json_file))
The keys of the dictionary are the image filenames
print(all_labels.keys())
And these are the quantities defined for each image
rawfile = '20181223_133712.jpg'

print(all_labels[rawfile].keys())
This function will strip image coordinates (X and Y) of polygons, and associated class labels (L) from
def get_data(data):
    X = []; Y = []; L=[] #pre-allocate lists to fill in a for loop
    for k in data['regions']: #cycle through each polygon
        # get the x and y points from the dictionary
        X.append(data['regions'][k]['shape_attributes']['all_points_x'])
        Y.append(data['regions'][k]['shape_attributes']['all_points_y'])
        L.append(data['regions'][k]['region_attributes']['label'])
    return Y,X,L #image coordinates are flipped relative to json coordinates
Use it to extract the polygons from the first image:
X, Y, L = get_data(all_labels[rawfile])
Open an image to get its dimensions:
image = Image.open(rawfile)

nx, ny, nz = np.shape(image)
Next we need a function that will create a label image from the polygon vector data (coordinates and labels)
def get_mask(X, Y, nx, ny, L, class_dict):
    # get the dimensions of the image
    mask = np.zeros((nx,ny))

    for y,x,l in zip(X,Y,L):
        # the ImageDraw.Draw().polygon function we will use to create the mask
        # requires the x's and y's are interweaved, which is what the following
        # one-liner does
        polygon = np.vstack((x,y)).reshape((-1,),order='F').tolist()

        # create a mask image of the right size and infill according to the polygon
        if nx>ny:
           x,y = y,x
           img = Image.new('L', (nx, ny), 0)
        elif ny>nx:
           #x,y = y,x
           img = Image.new('L', (ny, nx), 0)
        else:
           img = Image.new('L', (nx, ny), 0)
        ImageDraw.Draw(img).polygon(polygon, outline=0, fill=1)
        # turn into a numpy array
        m = np.flipud(np.rot90(np.array(img)))
        try:
            mask[m==1] = class_dict[l]
        except:
            mask[m.T==1] = class_dict[l]

    return mask
Apply it to get the label mask for the first image
mask = get_mask(X, Y, nx, ny, L, class_dict)
Next we'll define a function that we rescale our integer codes into 8-bit integer codes that span the full range. This 8-bit scaling will facilitate creation of label images that can be viewed using ordinary operating system image viewer software
def rescale(dat,mn,mx):
    '''
    rescales an input dat between mn and mx
    '''
    m = min(dat.flatten())
    M = max(dat.flatten())
    return (mx-mn)*(dat-m)/(M-m)+mn
Rescale the mask and convert it into a greyscale Image object, then save to file
mask = Image.fromarray(rescale(mask,0,255)).convert('L')

mask.save(rawfile.replace('imagery','labels'), format='PNG')
Loop through several files at once:
for rawfile in all_labels.keys():

    X, Y, L = get_data(all_labels[rawfile])

    image = Image.open(rawfile)

    nx, ny, nz = np.shape(image)

    mask = get_mask(X, Y, nx, ny, L, class_dict)

    mask = Image.fromarray(rescale(mask,0,255)).convert('L')

    mask.save(rawfile.replace('.jpg','_label.jpg'), format='PNG')
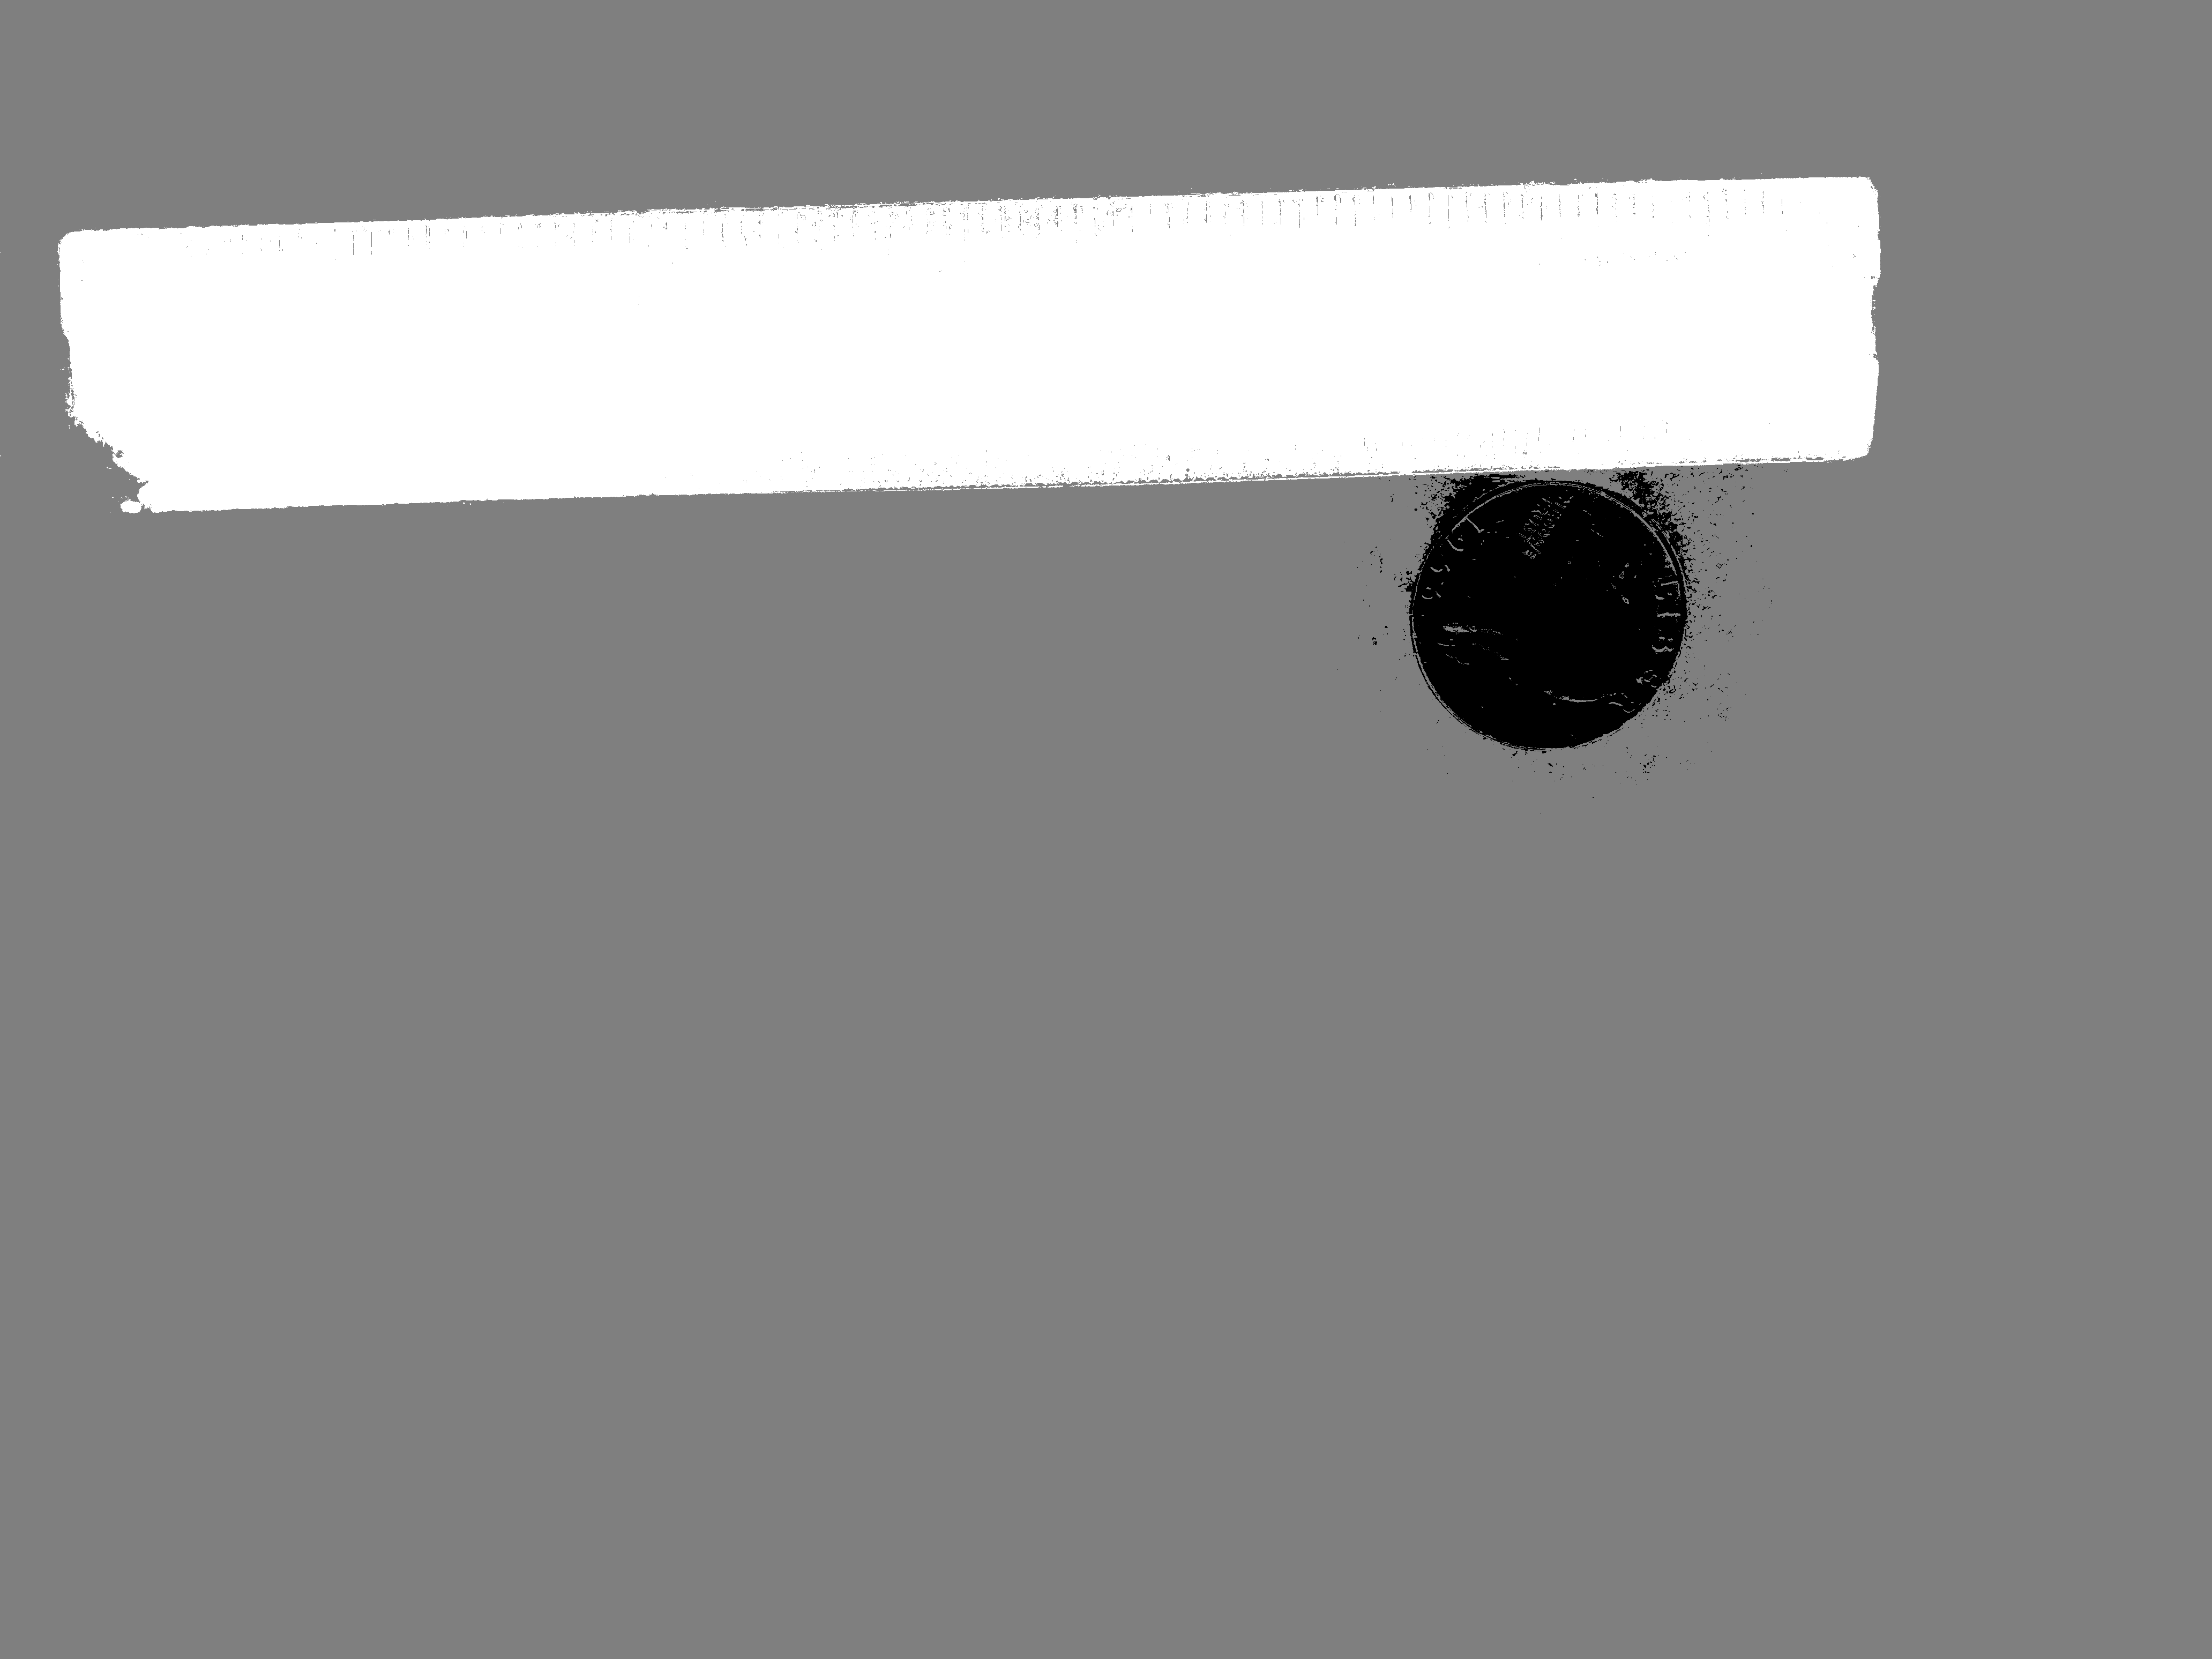
Here are the label images:
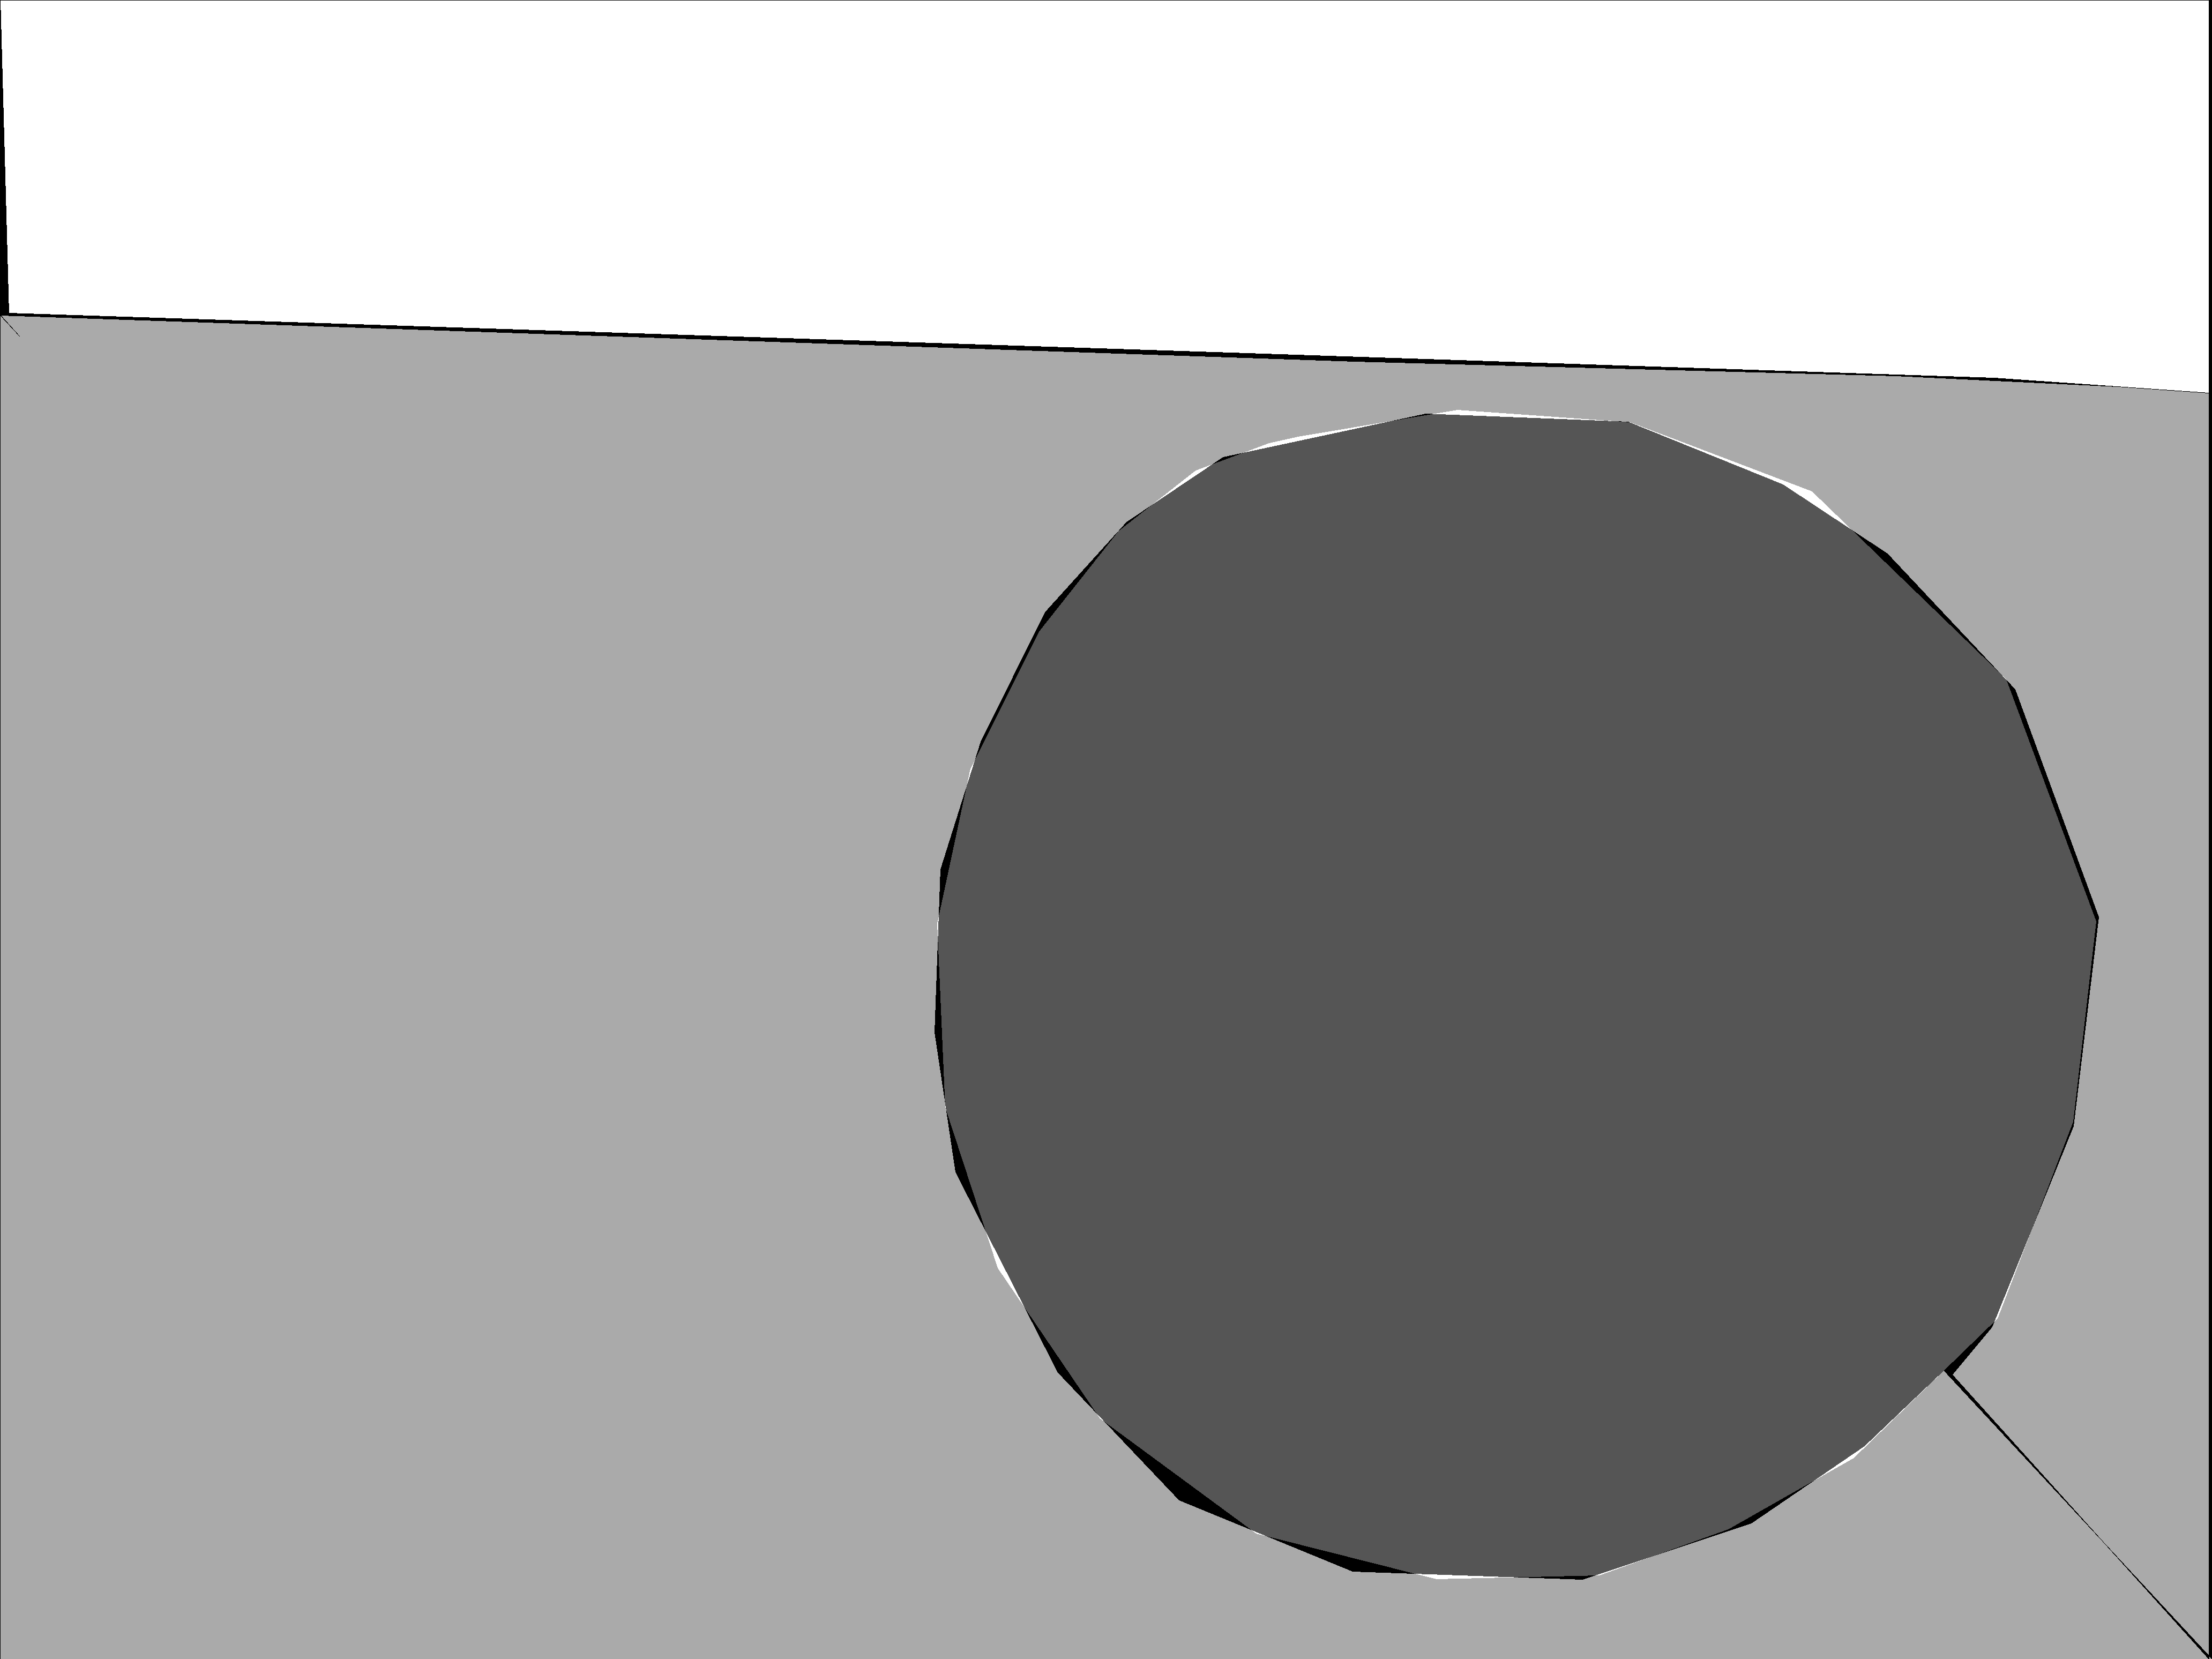
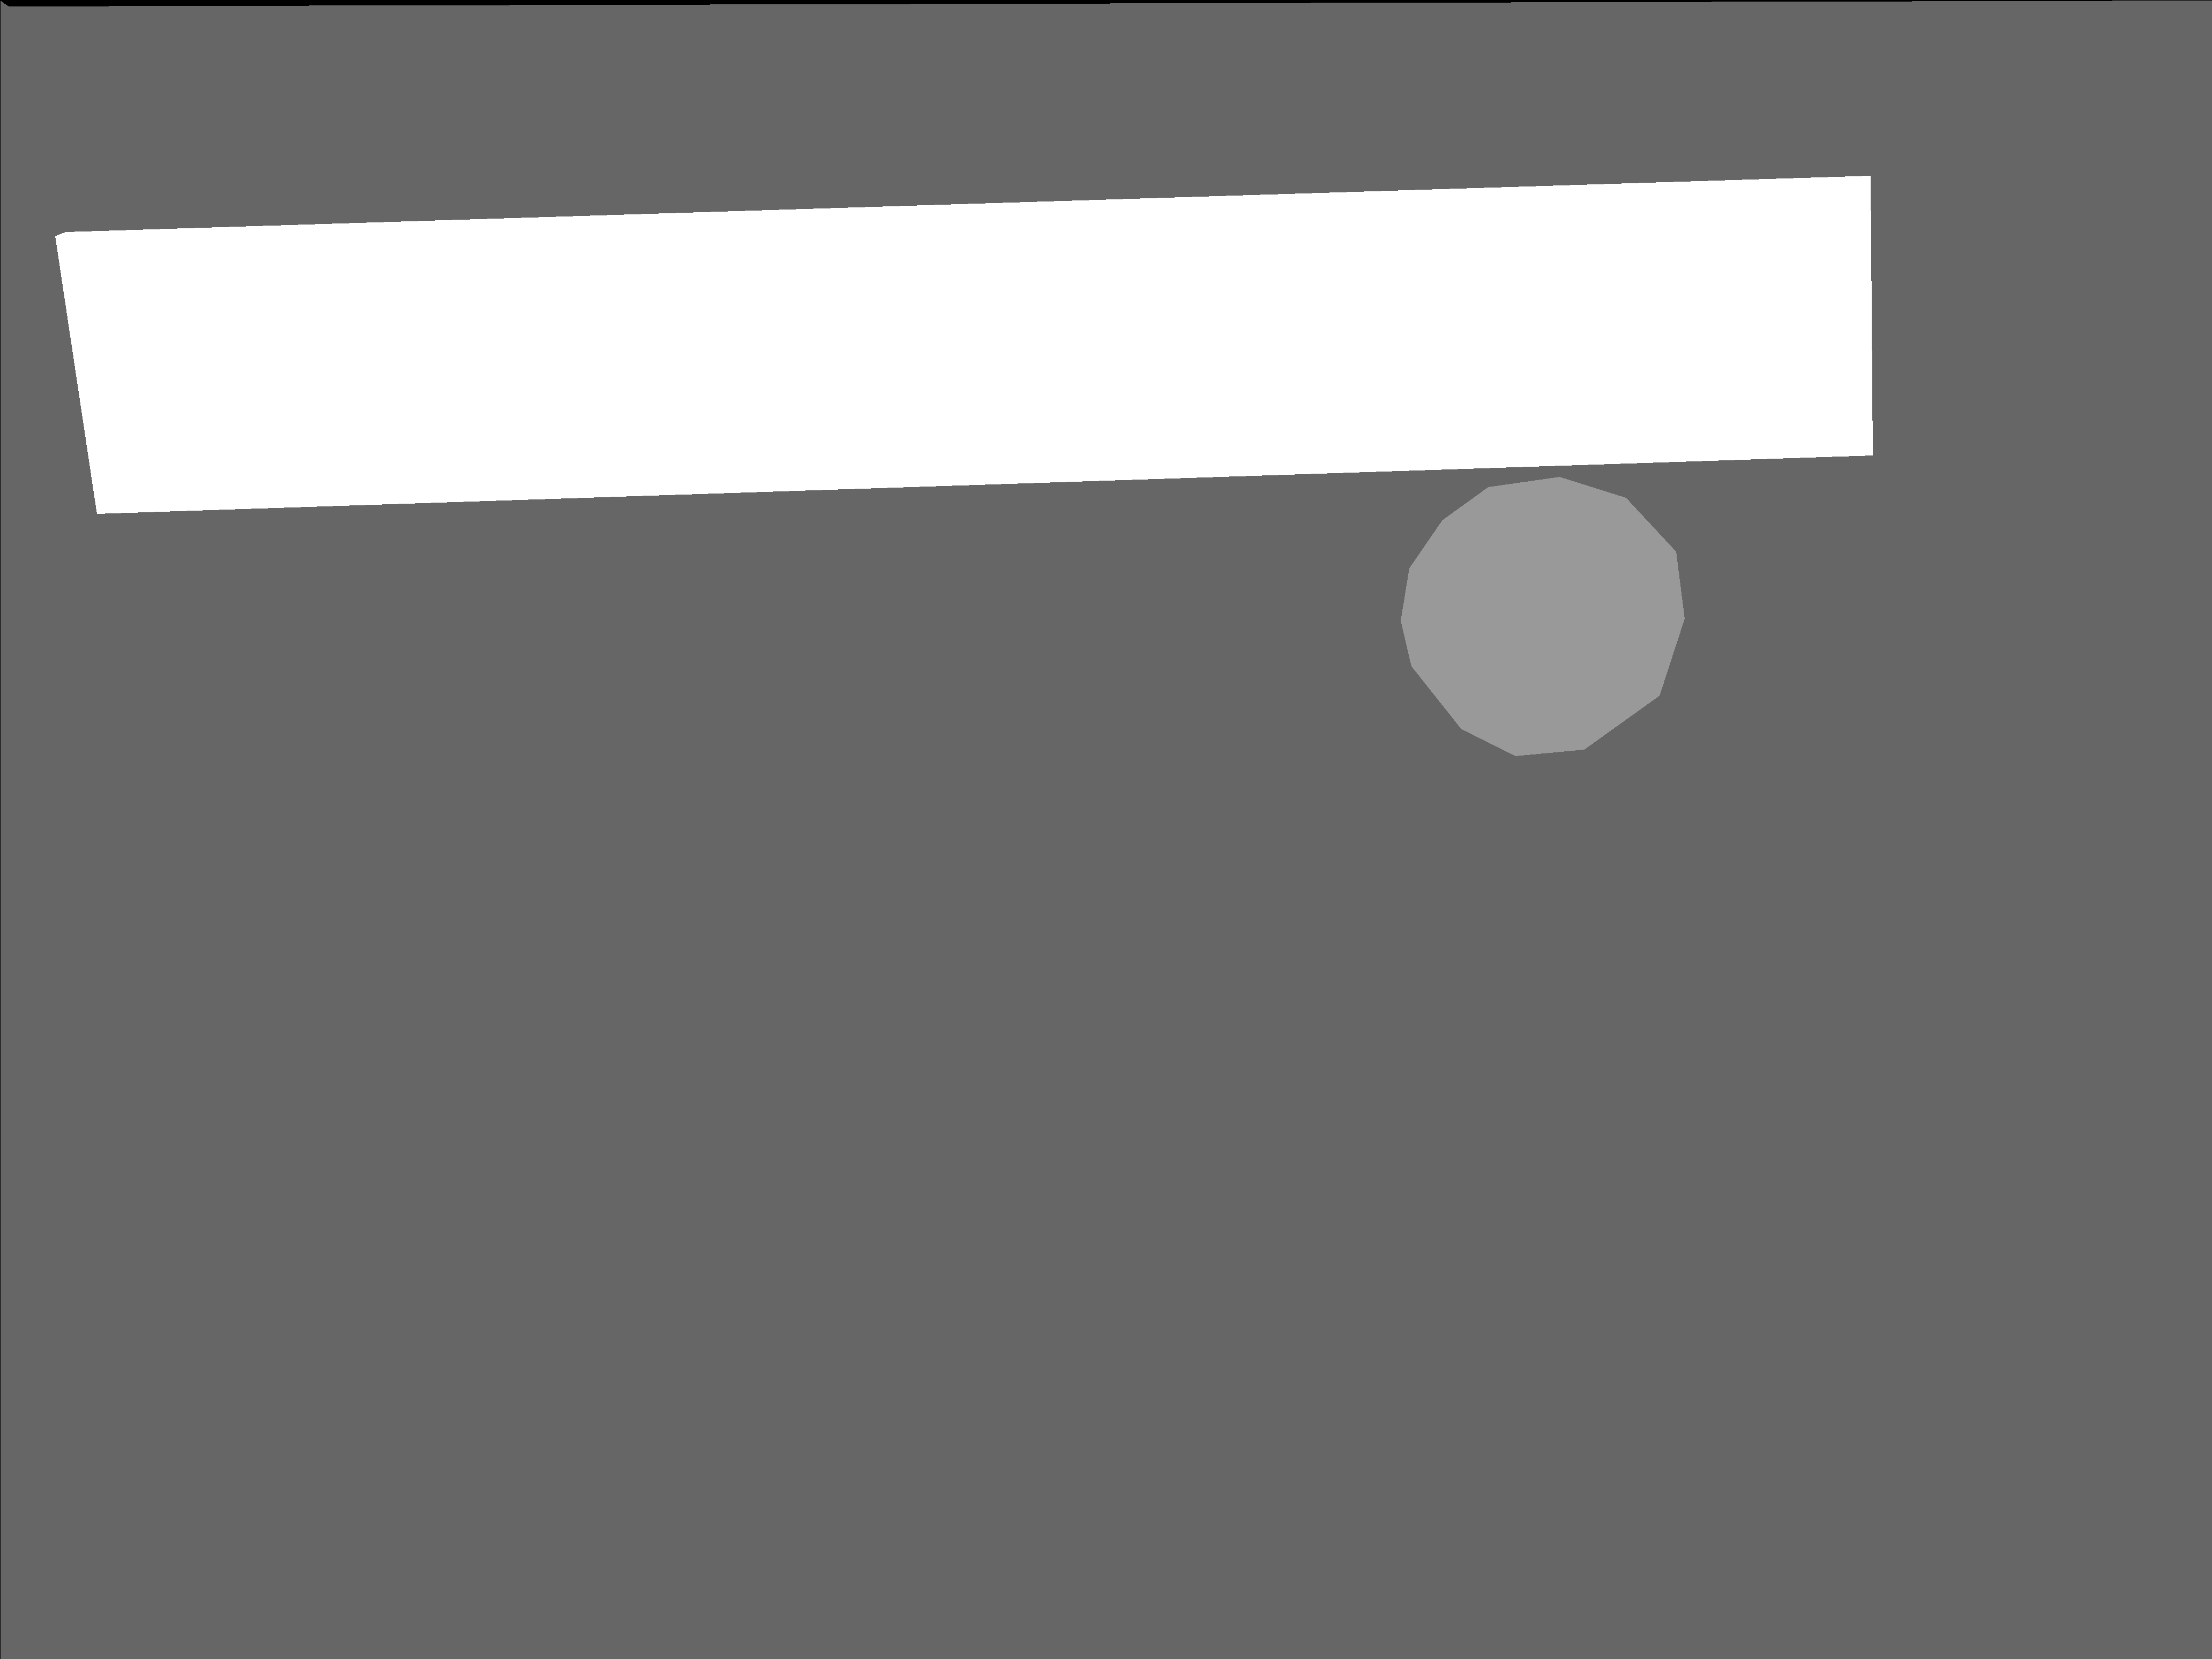
Clearly, I'm a careless labeller. How could you make these labels better? Read on ...
Refine label images with a CRF
A CRF is a model that we will introduce and use in Week 3 and is useful for pre-processing manual labels, such as here, or post-processing model estimates.
It works by examining the label in each pixel of the label image, and assessing the likelihood of it, given the distribution of image values that it observes in the same and other classes in the scene. It is a probabilistic assessment based on both image features that it extracts, append
A CRF is not a deep learning model, or a neural network at all, but it is a network-based (or so-called graphical model). You can read more about it in this paper, where it was used as a post-processing rather than a pre-processing step.
These are the extra python libraries we need (within the mlmondays conda environment)
import pydensecrf.densecrf as dcrf
from pydensecrf.utils import create_pairwise_bilateral, unary_from_labels
Next we define a function that will use the CRF to process the label with respect to the image, and provide a new refined label
def crf_refine(label, img):
    """
    "crf_refine(label, img)"
    This function refines a label image based on an input label image and the associated image
    Uses a conditional random field algorithm using spatial and image features
    INPUTS:
        * label [ndarray]: label image 2D matrix of integers
        * image [ndarray]: image 3D matrix of integers
    OPTIONAL INPUTS: None
    GLOBAL INPUTS: None
    OUTPUTS: label [ndarray]: label image 2D matrix of integers
    """
    H = label.shape[0]
    W = label.shape[1]
    U = unary_from_labels(label,1+len(np.unique(label)),gt_prob=0.51)
    d = dcrf.DenseCRF2D(H, W, 1+len(np.unique(label)))
    d.setUnaryEnergy(U)

    # to add the color-independent term, where features are the locations only:
    d.addPairwiseGaussian(sxy=(3, 3),
                 compat=3,
                 kernel=dcrf.DIAG_KERNEL,
                 normalization=dcrf.NORMALIZE_SYMMETRIC)
    feats = create_pairwise_bilateral(
                          sdims=(100, 100),
                          schan=(2,2,2),
                          img=img,
                          chdim=2)

    d.addPairwiseEnergy(feats, compat=120,kernel=dcrf.DIAG_KERNEL,normalization=dcrf.NORMALIZE_SYMMETRIC)
    Q = d.inference(10)
    return np.argmax(Q, axis=0).reshape((H, W)).astype(np.uint8)
Now we modify the get_mask function from before with the post-processing step
def get_mask_crf(X, Y, nx, ny, L, class_dict, image):
    # get the dimensions of the image
    mask = np.zeros((nx,ny))

    for y,x,l in zip(X,Y,L):
        # the ImageDraw.Draw().polygon function we will use to create the mask
        # requires the x's and y's are interweaved, which is what the following
        # one-liner does
        polygon = np.vstack((x,y)).reshape((-1,),order='F').tolist()

        # create a mask image of the right size and infill according to the polygon
        if nx>ny:
           x,y = y,x
           img = Image.new('L', (nx, ny), 0)
        elif ny>nx:
           #x,y = y,x
           img = Image.new('L', (ny, nx), 0)
        else:
           img = Image.new('L', (nx, ny), 0)
        ImageDraw.Draw(img).polygon(polygon, outline=0, fill=1)
        # turn into a numpy array
        m = np.flipud(np.rot90(np.array(img)))
        try:
            mask[m==1] = class_dict[l]
        except:
            mask[m.T==1] = class_dict[l]

    mask = crf_refine(np.array(mask, dtype=np.int), np.array(image, dtype=np.uint8))

    return mask
And use a similar loop as before to apply this CRF processing
for rawfile in all_labels.keys():

    X, Y, L = get_data(all_labels[rawfile])

    image = Image.open(rawfile)

    nx, ny, nz = np.shape(image)

    mask = get_mask_crf(X, Y, nx, ny, L, class_dict, image)

    mask = Image.fromarray(rescale(mask/255,0,255)).convert('L')

    mask.save(rawfile.replace('.jpg','_label_crf.jpg'), format='PNG')
Here are the CRF-refined label images. Now there is no black (0) background class. The black (0) class is class 1; class 2 is 127; and class 3 is 255.

